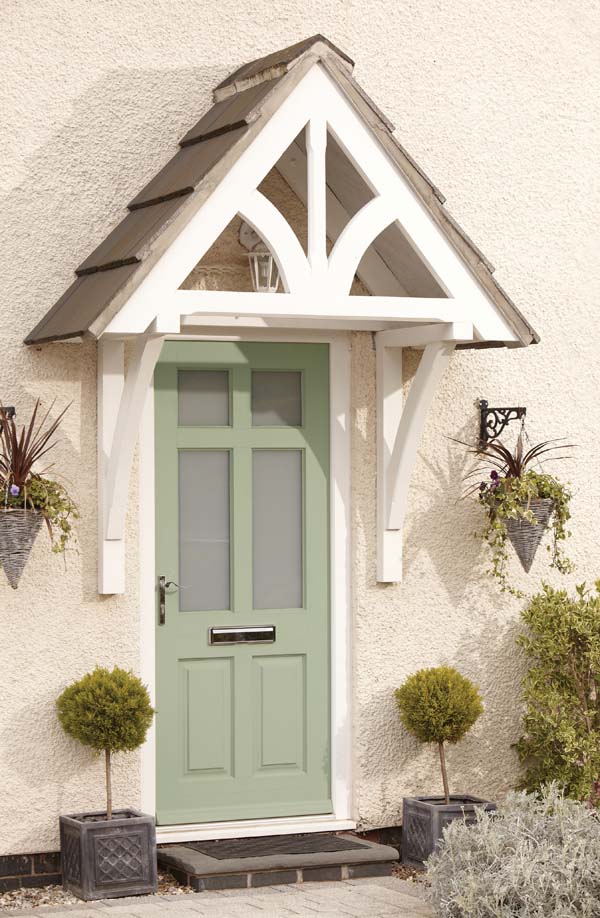
First impressions count, and you can transform a tired entrance is with just a little imagination and elbow grease. Just follow our easy steps and youÔÇÖll be proud to shut the front door!
1. If possible, take the door of its hinges. If youÔÇÖre unable to do this, you can still prep and paint it in situ.
2. Remove the doorÔÇÖs hardware, such as the letterbox and handle, or use masking tape to cover them and any panels that you may want to paint a different colour.
3. Clean the door thoroughly with a damp cloth.
4. Apply two coats of primer ÔÇô an undercoat of paint that will protect your door and prevent the topcoat flaking and cracking.
5. Use a fine sandpaper to sand down the door, brushing away the dust with an old paintbrush.
6. Apply the first topcoat with a brush or a roller, painting with the grain of the wood. Always choose a quality paint for a beautiful finish and durability; cheaper paints can prove a false economy! RonsealÔÇÖs 10-year Weatherproof Wood Paint is drip resistant and comes in 15 classic colours such as Racing Green, Dark Oak and Chestnut, in either a gloss or satin finish.
7. Apply a second and further coats if necessary. The darker the paint, the more work needed!
8. Using a mini roller, paint the inside and top edges of the door.
9. If you have a panel door and want to paint the trims and grooves in an alternative colour, wait for the base coat to dry before masking around and inside the panels. Paint the trim with an angled brush, applying a second coat if needed.
10. Remove the masking tape and screw the letterbox, knocker, handle and doorbell back in place. Polish the fittings and voila ÔÇô your front door is ready and waiting for guests to make an entrance!
Image courtesy of Ronseal

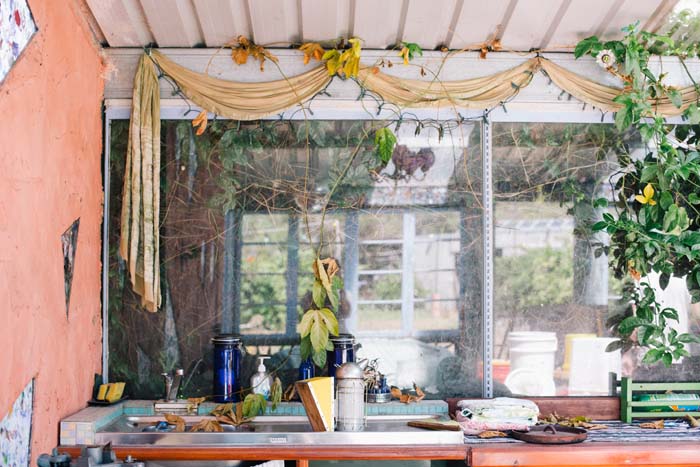 If your property is in need of a makeover, there are plenty of ways to do it without breaking the bank! Whether you want to spruce things up in order to sell or simply make your home a cosier place in which to curl up, here are some inexpensive improvement ideas!
 A well-presented kitchen can clinch the deal for prospective buyers – but thereÔÇÖs no point spending thousands on new cabinets only to find your buyer plans to rip it straight out again. Instead, enhance an existing kitchen with a few added extras such as a
 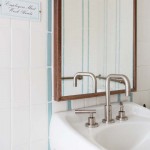 As with a new kitchen, it can cost a lot to
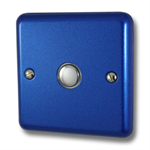
 ItÔÇÖs high time we continue our ÔÇÿHow toÔǪÔÇÖ series, so here we go with a simple guide to fitting a dimmer switch!
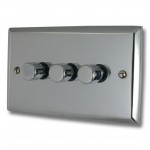 Remove the screws on the face of the existing dimmer plate and pull it away from the wall.
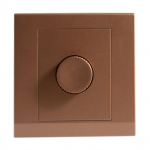 DonÔÇÖt forget that any kind of electrical work can be dangerous. If youÔÇÖre not sure what youÔÇÖre doing, donÔÇÖt risk it ÔÇô