Replacing your old kitchen doors with new doors may seem like an easy way to update your kitchen, but is it really that easy?
The Devil’s in the Detail
In truth replacing the doors on your kitchen units is a relatively straight-forward process. There are plenty of places to buy replacement kitchen doors and accessories, and masses of door styles to choose from. One of the tricks to knowing how difficult a project is going to be is around the edges of the kitchen. This is where the finish of the kitchen will show, and the quality of the workmanship can make the difference between a brand new looking kitchen, and a hatchet job.
End Panels
End panels are used to cover up any exposed kitchen cabinets (also called kitchen carcasses by some). Using an end panel mean that you can have a different kitchen cabinet from the doors, and gives you much more freedom when choosing your new kitchen door.
You need to ensure that you can accommodate this end panel in your kitchen, especially if you are not already using it. The panel is normally between 18mm and 22mm thick and is fitted to the end of the cabinet.
Plinths or Kickboards
Plinth, also known as kickboards, are the piece of material (normally wood, sometimes aluminium), that runs along the bottom of the kitchen. It is usually slightly set back, and is attached to the legs of the base units, to hold it in place. When buying the replacement kitchen doors, you should buy the plinth to match. This is usually about 3 metres long. You use one or more pieces to produce one long run, without gaps. This gives ties your kitchen together (aesthetically).
The Kitchen Doors
When replacing the doors, there is a key thing to understand. Kitchen doors are always slightly smaller than the kitchen units. This is so that they can open without catching against each other.
Each manufacturer has slightly different measurements, but the width are normally 3-4mm narrower than a units, so for a 600mm wide base unit, the door will normally be 596mm or 597mm wide. Don’t worry too much about one or two millimetres difference from your current doors to the new ones, you won’t be able to tell once they are fitted.
The doors are normally 5mm shorter than the units themselves, so for a base unit, the unit is normally 720mm high, the doors are normally 715mm high. Once again, don’t worry too much if they are slightly shorter than that.
Hinges
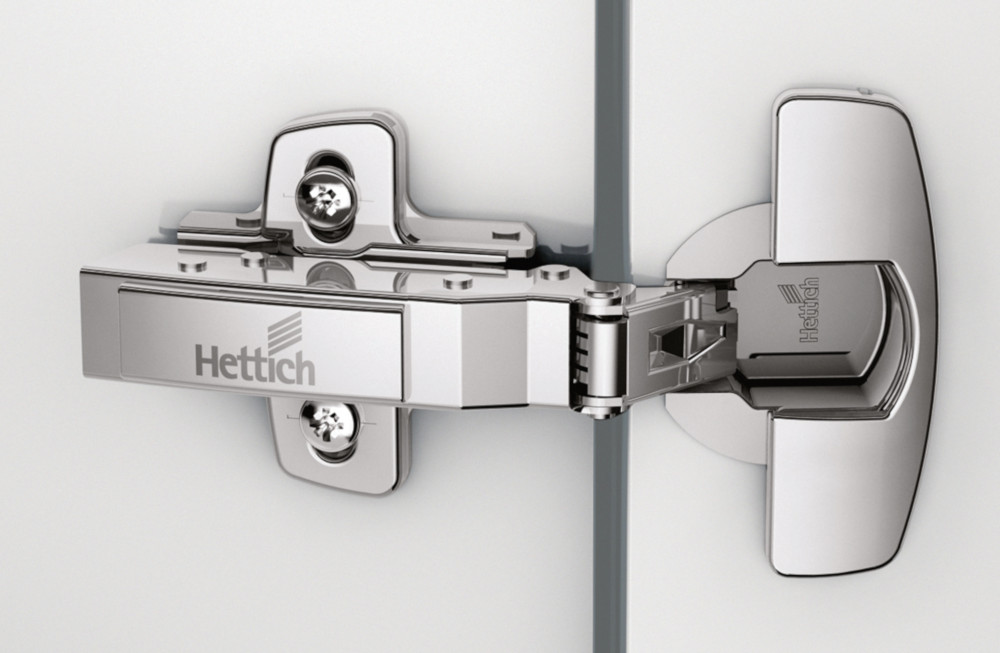
There are three things to consider with the hinges.
The position of the hinge
You will need to measure the position of the hinge in relation to the top and the bottom of the door. This is measured in millimetres. This is sometimes called the drill hole, when ordering the new doors.
The hinge side
The only matters if the door has a pattern on it, or if it has a handle integrated into it, or if the hinge holes are not drilled at the same position top and bottom. If this is the case you will need to decide whether you want it drilled left or right. This is as you look at the door when it is closed, fitted on to the cabinet.
Type of hinge
We would recommend only going for integrated soft close hinges. These are the hinges that make your door shut slowly. Not only do they avoid loud bangs in your kitchen, but they protect your kitchen doors and cabinets.
Most hinges are 110 degree hinges. These cater for most scenarios, but you do also have specific hinges for top boxes, integrated appliances (like integrated fridges and freezers) and bi-fold hinges, if you are joining doors together, so just take care to replace like-for-like if you are going to replace the hinges.
Conclusion
Replacing your kitchen doors to upgrade your kitchen can be a fantastic way to breathe new life into your kitchen, but make sure you take care of the finer details around the edges to make sure you give the kitchen makeover the finish it deserves.
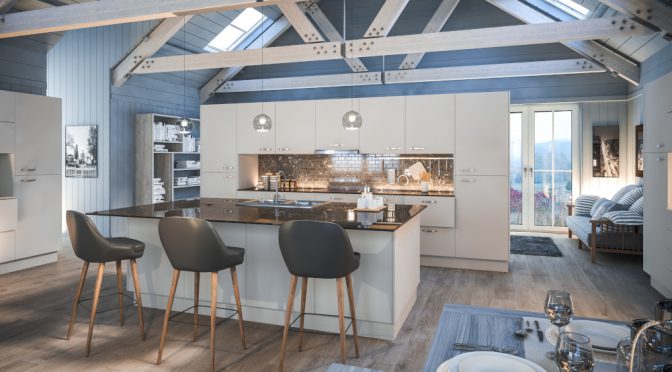
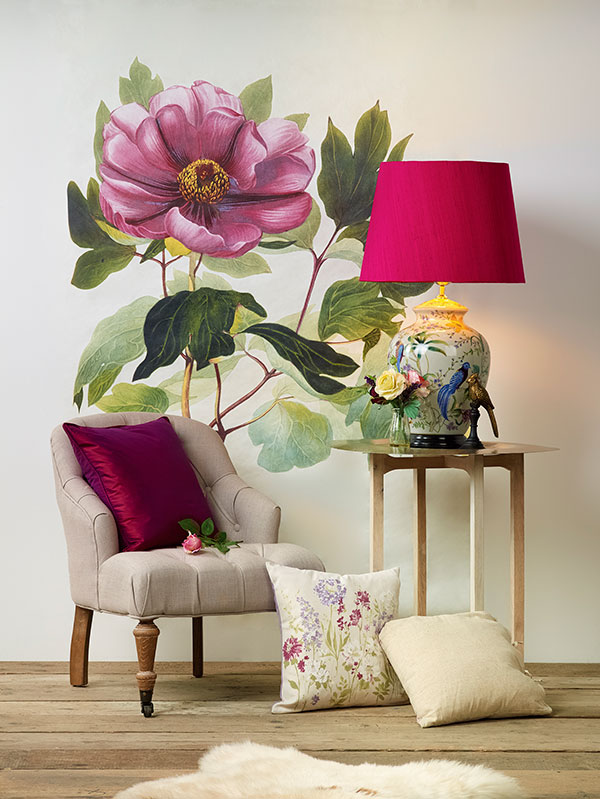
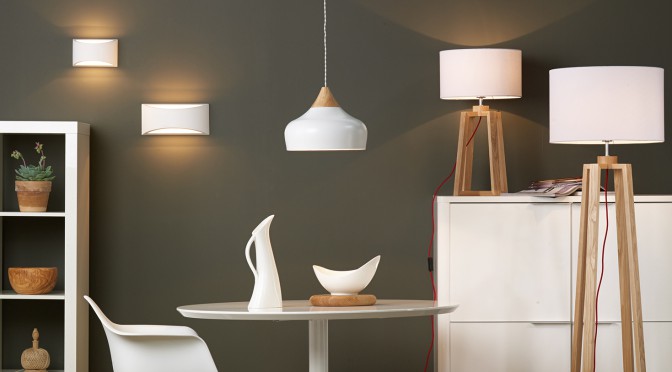
 If youÔÇÖve been admiring the cool, calm and collected look, that is all things Scandinavian – then there is no better time than Spring to inject some clean, Nordic inspired lines into your
 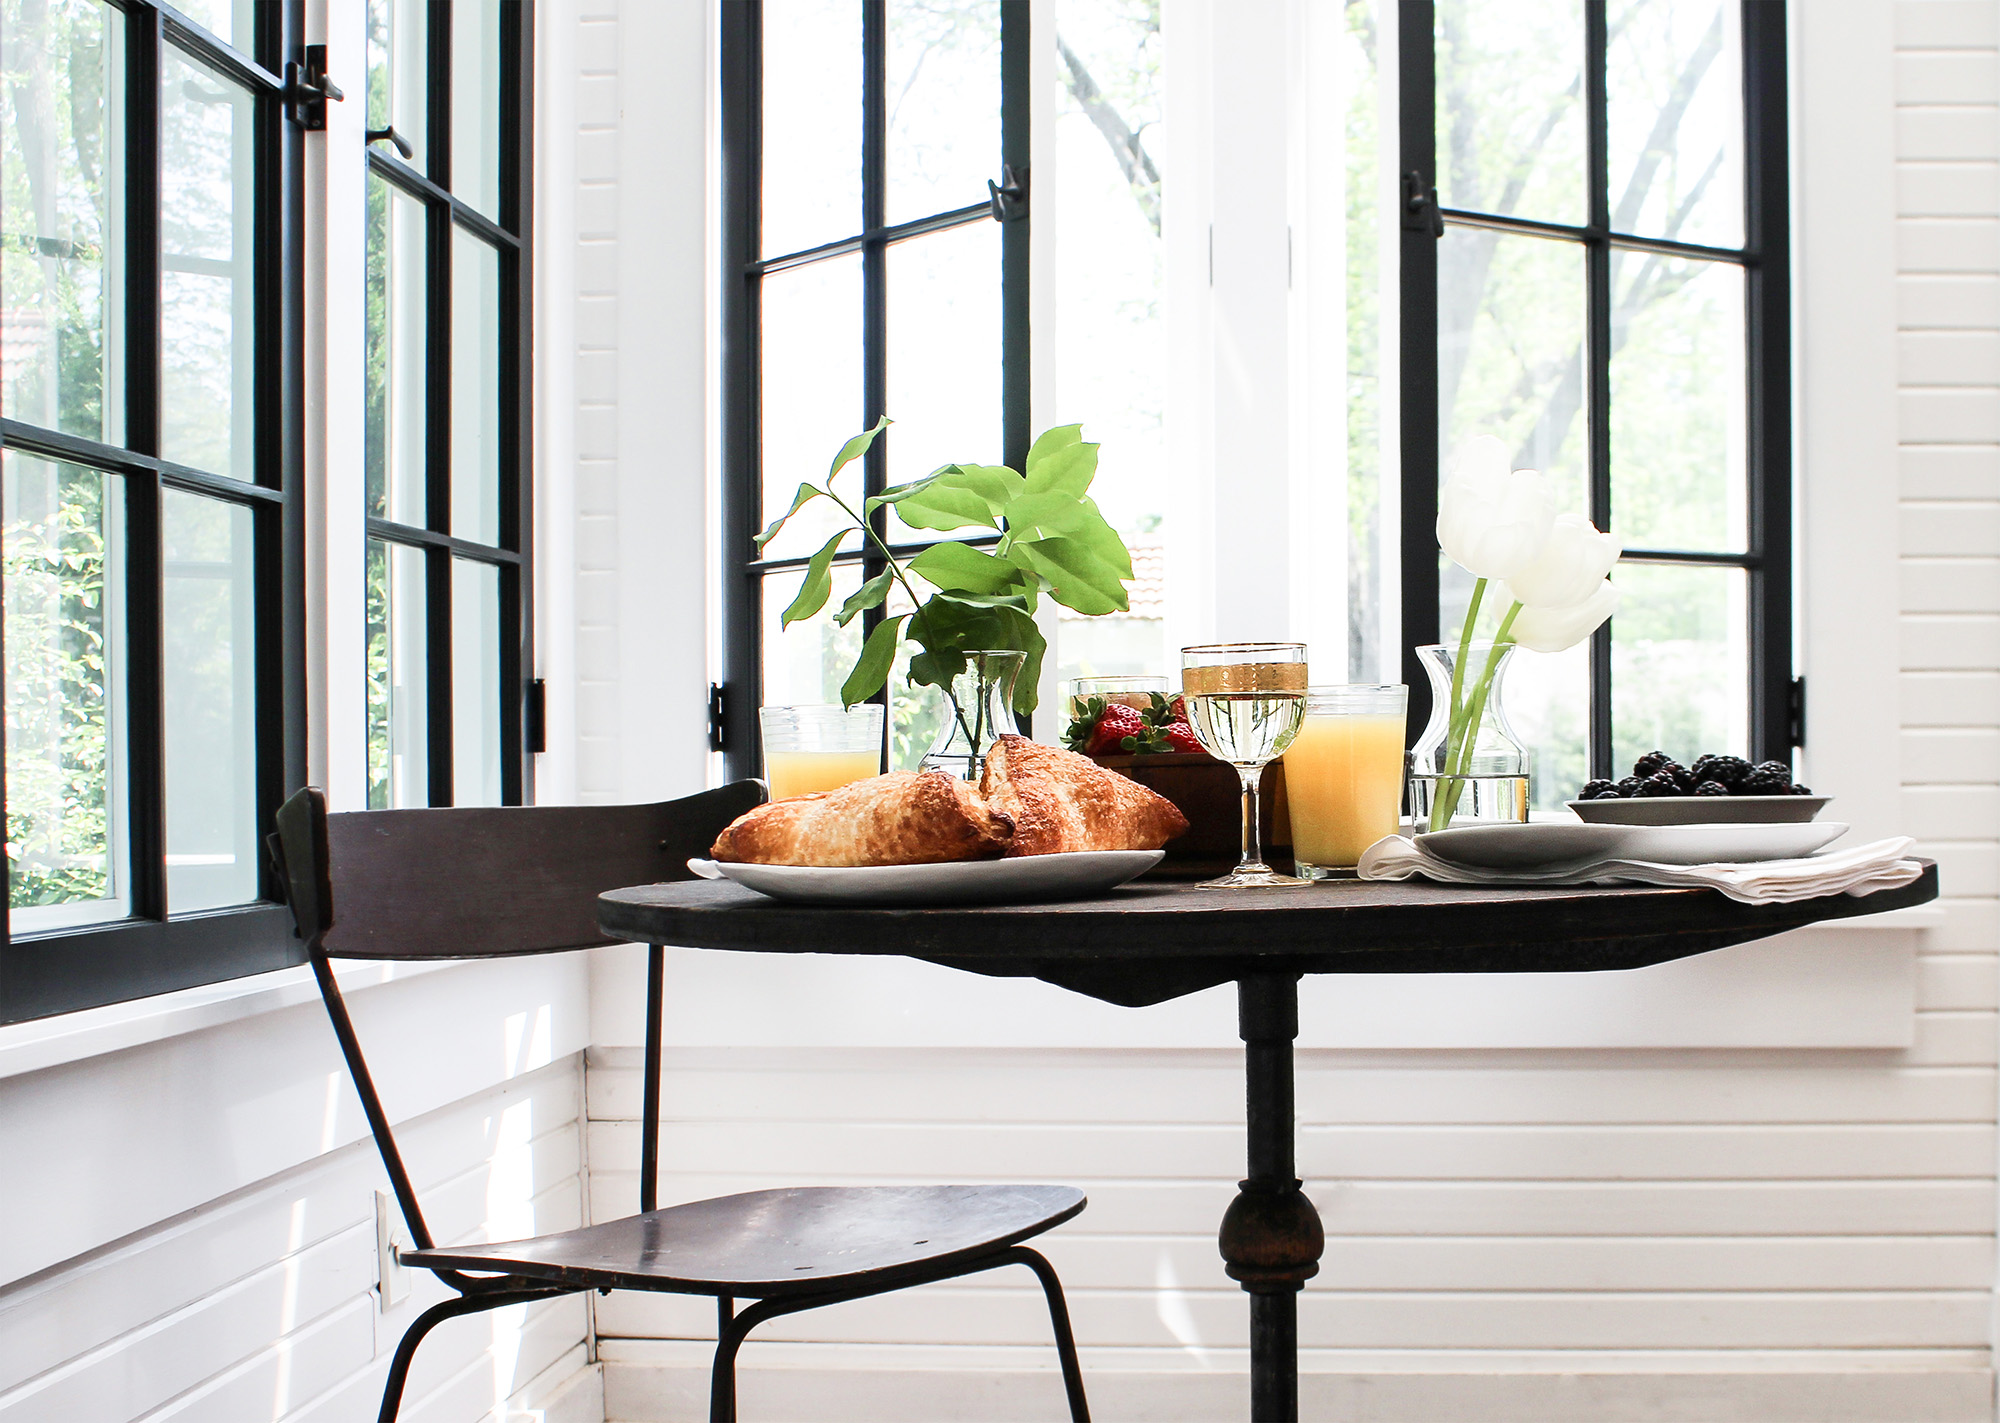 Not featuring much in in the way of curtains or window drapes, the Scandi look aims lets in as much light as possible. While some may bolt at the idea of losing a trusty pair of curtains, there are ways to maximise the amount of light that you let in through a window. Hanging them a few inches higher and wider than usual, will allow more of the fabric to sit against the wall, as opposed to the window. Using thinner fabric for blinds will stop you blocking the light from seeping through, and still allow you to keep your nosy neighbours out!
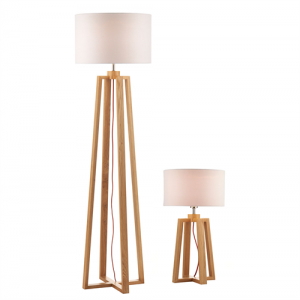
 Use a (predominantly) white palette