Category Archives: DIY

Nine nifty tips for nicer DIY

diy-paintingDIY neednÔÇÖt be hard work if you know the rules! Our handy hints donÔÇÖt cut corners but they do cut down on the work in the long term. If you want to start as you mean to continue, read on!

1. First things first

Always check what type of screws and rawlplugs you need before you get started. ThereÔÇÖs nothing worse than drilling into the wall only to find youÔÇÖre without the right fixtures – and theyÔÇÖre not always supplied with the product being fitted.

2. On the level

Invest in a spirit level and always use it when putting up shelves and rails. You might think you can judge just by looking, but chances are you canÔÇÖt!

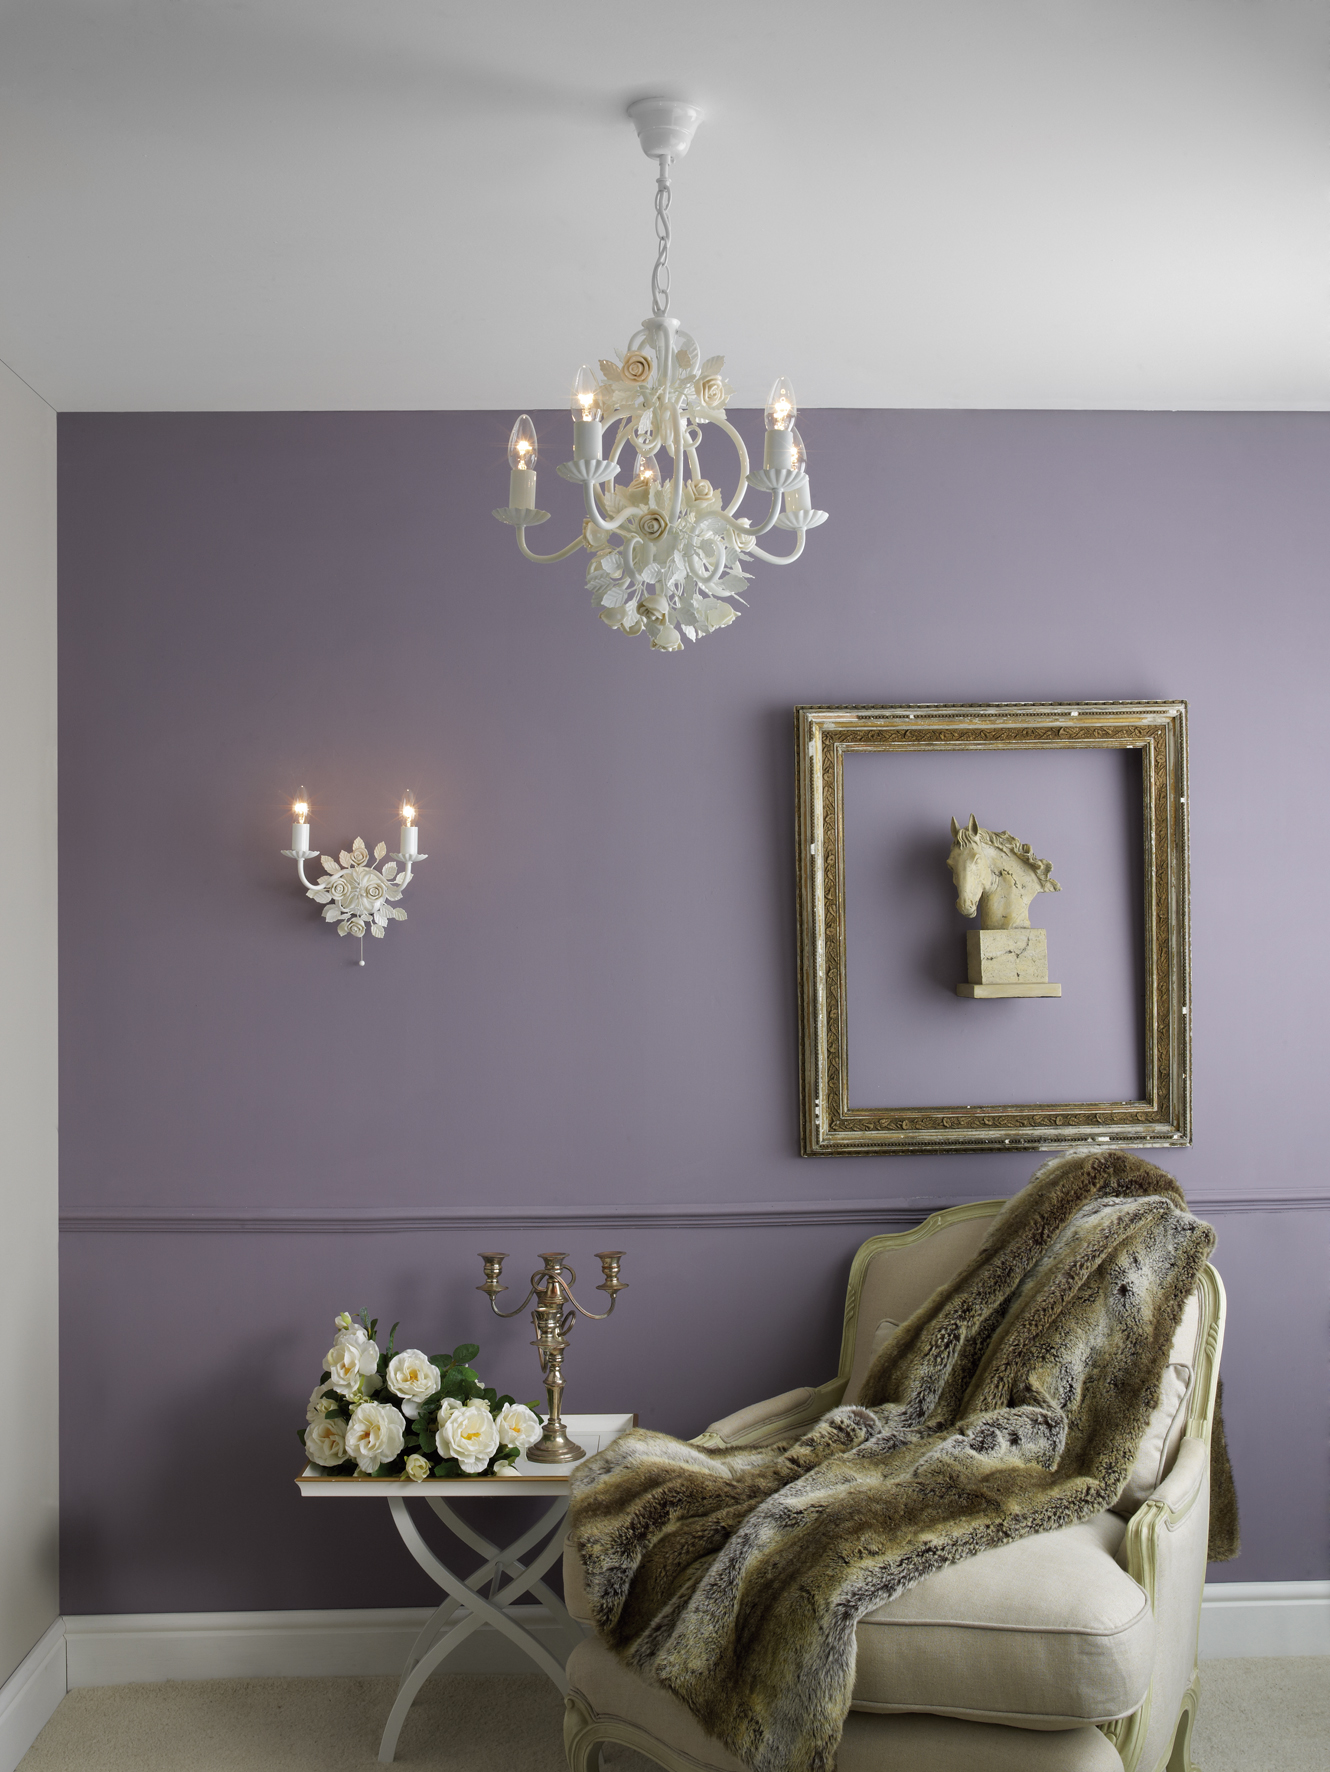
3. Primed for perfection

table-lampDonÔÇÖt assume that painting over a stain will hide it completely. Try a coat of primer first, to seal it in, and then add a fresh coat of paint for a clean finish.

4. ItÔÇÖs a wrap

When leaving paint to dry before applying the next coat, wrap the brushes and rollers in cling film. It stops them drying out and prevents you having to wash them out multiple times!

5. Stick with it

The same goes for grout and tile adhesive. If youÔÇÖre taking a break, place a damp towel over the bucket to stop the mixture hardening.

6. Silver lining

chinese-wallpaper
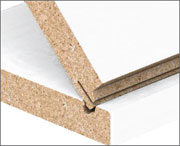
DonÔÇÖt skimp on the lining paper, particularly if you live in an older house or the walls are bumpy. Quality lining paper evens things out and makes it much easier to hang the main wallpaper, as well as giving a nicer finish if youÔÇÖre painting the walls. Paste the lining paper horizontally if you are papering on top, but vertically if you are painting over it.

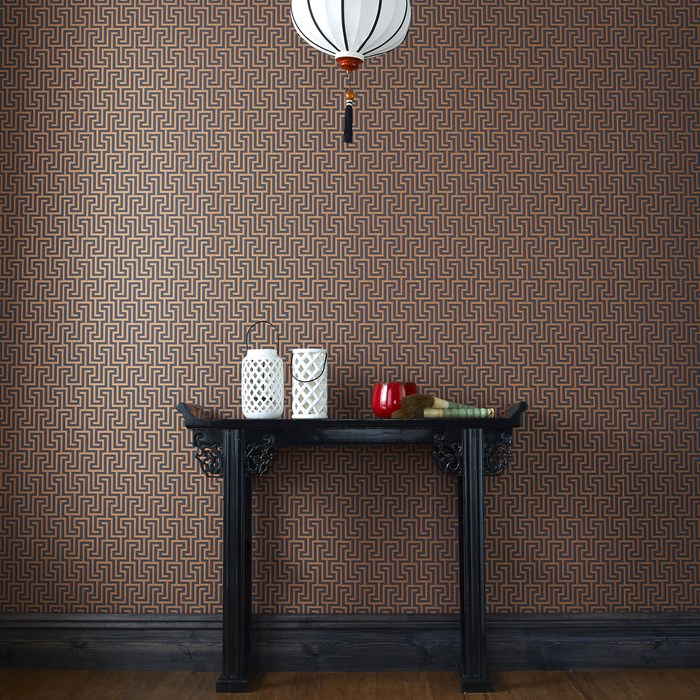
7. Building relationships

If youÔÇÖre a regular DIY-er or have a large project on the go, check out your local buildersÔÇÖ merchant as many accept public as well as trade customers. You might get a 10% discount on all purchases and staff are also likely to be extremely knowledgeable and give great tips and advice.

8. Check, mate!

Check, check and check again. The silliest mistakes can be made when a DIY-er is tired or in a rush, with handles being fixed upside down and even doors opening the wrong way! Take your time, enlist someone you trust to provide a fresh pair of eyes and have plenty of tea breaks!

9. Know when to go pro

diyRecognise your limits and accept you might have to call in the experts for the hard stuff!

DIY Advice Online is brimming with clever ideas for your home and garden, as well as step-by-step guides. Check out our decorating dos and donÔÇÖts, as well as how to avoid a DIY botch job!

home-insulation

How easy is DIY home insulation?

home-insulationWith the air finally turning chilly after the mild start to winter, thoughts are turning to how best to keep homes cosy and warm. One of the surest ways to retain heat is to fully insulate your property – but should you call in the professionals or do it yourself?

Several areas around the home can benefit from insulation, such as cavity walls, solid walls, flooring, roofs and attic space. According to the Energy Saving Trust, a quarter of energy in an uninsulated house is lost through the roof, so there is no doubt that good insulation can shave pounds off your energy bills. Paying a professional to install insulation in a detached home costs, on average, £395, with savings of around £240 every year afterwards.

Do it yourself home insulation

It is possible to fit loft insulation yourself if youÔÇÖre a natural at DIY and the space is easy to get to, isnÔÇÖt damp and doesnÔÇÖt have a flat roof. One of the most common types of insulation is batt or blanket insulation, which comes in rolls of foil-backed glass, rock, felt or mineral fibre. The insulation should be at least 270mm thick and is easy to install.

Note that if youÔÇÖre laying down boards in order to use the attic for storage, it isnÔÇÖt enough to simply insulate between the joists first. One option is to insulate between the joists before laying rigid insulation boards on top, with wooden boards on top again. Alternatively, you can raise the level of the floor, fitting the insulation underneath. Take care not to squash the insulation with the boards, as this will make it less effective.

If your loft or attic is to be used as a room, itÔÇÖs advisable to insulate the roof itself, rather than the floorboards, by fixing rigid insulation boards between the rafters. The boards should fit snugly and can then be covered with insulated plasterboard.

floor-insulationInsulating the floor is also a job you can tackle yourself, especially if underneath the floorboards is a cellar or basement that you can get to. Check first that joists are in good condition and fit the insulation between them, then fix plasterboard to the undersides of the joists to create a basement ‘ceiling’. For even more warmth, a layer of rigid insulation can be fitted beneath this ceiling too.

When replacing the floorboards, seal any gaps between and around them before laying carpet or adding rugs.

When to hire a professional home insulation installer

If your loft is damp or has a flat roof, you will need to call in a professional. Similarly, cavity wall insulation is not something you can do yourself and you will have to hire a registered installer. According to the EST, an uninsulated house loses around two thirds of its heat through the walls, so cavity wall insulation is a worthwhile investment that takes about two hours and leaves no mess.

To find an insulation installer in your area, contact the National Insulation Association, whose members agree to follow a code of professional practice to ensure excellent customer service. Historic England, Historic Scotland and Cadw can advise on insulating a traditionally made property.

home-insulationHome insulation grants

Depending on your circumstances, you may be able to get help with the cost of insulating your home. Take a look at the GovernmentÔÇÖs energy grants calculator to see if youÔÇÖre eligible.

The benefits of a flatpack kitchen

flatpack-kitchenWhen it comes to buying a new kitchen, to what extent are you prepared to do it yourself? If you’re weighing up the pros and cons of a rigid kitchen v a flatpack kitchen, the latter might be an easier option than you think!

There are many myths around flatpack kitchens, such as them being of a lesser quality than pre-assembled kitchens and not giving the professional finish you expect. But these misconceptions just aren’t true, and buying a flatpack kitchen can be a fabulous way of getting the bespoke kitchen you want at a price you can afford!

A recent blog post from our sister company Flatpack Kitchens listed some of the benefits of buying a flatpack kitchen. You can read the whole post here or take a look at our synopsis, which sorts out the flatpack facts from the kitchen fiction!

The benefits of a flatpack kitchen include:

  • A cheaper price tag, which means you get more for your money
  • The same quality as rigid kitchens. ItÔÇÖs the material they are made from that counts, not how they are delivered
  • Easier storage until you’re ready to install your new kitchen
  • Easier to fit around pipework and other features
  • With many kitchen retailers, you will be able change your order after it’s been processed. You’re less likely to be able to with a bespoke kitchen

flatpack-kitchenWhen installing your new flatpack kitchen, read the manufacturer’s instructions thoroughly, even if you’re an experienced fitter. Kitchen technology and materials are changing all the time, and the fittings might contain some quirks you haven’t seen before!

Even if you don’t consider yourself up to the task of fitting a new kitchen, flatpack cabinets are not to be discounted. You can buy a flatpack kitchen anyway and use the savings you make to pay a professional to do the job for you!

Replacement Kitchen Doors

Don’t forget that once you’ve got the cabinets in place head over to get new doors – there are a huge selection of replacement kitchen doors available to buy to finish your renovation programme.┬á