Author Archives: Rebecca

Nine nifty tips for nicer DIY

diy-paintingDIY neednÔÇÖt be hard work if you know the rules! Our handy hints donÔÇÖt cut corners but they do cut down on the work in the long term. If you want to start as you mean to continue, read on!

1. First things first

Always check what type of screws and rawlplugs you need before you get started. ThereÔÇÖs nothing worse than drilling into the wall only to find youÔÇÖre without the right fixtures – and theyÔÇÖre not always supplied with the product being fitted.

2. On the level

Invest in a spirit level and always use it when putting up shelves and rails. You might think you can judge just by looking, but chances are you canÔÇÖt!

3. Primed for perfection

table-lampDonÔÇÖt assume that painting over a stain will hide it completely. Try a coat of primer first, to seal it in, and then add a fresh coat of paint for a clean finish.

4. ItÔÇÖs a wrap

When leaving paint to dry before applying the next coat, wrap the brushes and rollers in cling film. It stops them drying out and prevents you having to wash them out multiple times!

5. Stick with it

The same goes for grout and tile adhesive. If youÔÇÖre taking a break, place a damp towel over the bucket to stop the mixture hardening.

6. Silver lining

chinese-wallpaperDonÔÇÖt skimp on the lining paper, particularly if you live in an older house or the walls are bumpy. Quality lining paper evens things out and makes it much easier to hang the main wallpaper, as well as giving a nicer finish if youÔÇÖre painting the walls. Paste the lining paper horizontally if you are papering on top, but vertically if you are painting over it.

7. Building relationships

If youÔÇÖre a regular DIY-er or have a large project on the go, check out your local buildersÔÇÖ merchant as many accept public as well as trade customers. You might get a 10% discount on all purchases and staff are also likely to be extremely knowledgeable and give great tips and advice.

8. Check, mate!

Check, check and check again. The silliest mistakes can be made when a DIY-er is tired or in a rush, with handles being fixed upside down and even doors opening the wrong way! Take your time, enlist someone you trust to provide a fresh pair of eyes and have plenty of tea breaks!

9. Know when to go pro

diyRecognise your limits and accept you might have to call in the experts for the hard stuff!

DIY Advice Online is brimming with clever ideas for your home and garden, as well as step-by-step guides. Check out our decorating dos and donÔÇÖts, as well as how to avoid a DIY botch job!

home-insulation

How easy is DIY home insulation?

home-insulationWith the air finally turning chilly after the mild start to winter, thoughts are turning to how best to keep homes cosy and warm. One of the surest ways to retain heat is to fully insulate your property – but should you call in the professionals or do it yourself?

Several areas around the home can benefit from insulation, such as cavity walls, solid walls, flooring, roofs and attic space. According to the Energy Saving Trust, a quarter of energy in an uninsulated house is lost through the roof, so there is no doubt that good insulation can shave pounds off your energy bills. Paying a professional to install insulation in a detached home costs, on average, £395, with savings of around £240 every year afterwards.

Do it yourself home insulation

It is possible to fit loft insulation yourself if youÔÇÖre a natural at DIY and the space is easy to get to, isnÔÇÖt damp and doesnÔÇÖt have a flat roof. One of the most common types of insulation is batt or blanket insulation, which comes in rolls of foil-backed glass, rock, felt or mineral fibre. The insulation should be at least 270mm thick and is easy to install.

Note that if youÔÇÖre laying down boards in order to use the attic for storage, it isnÔÇÖt enough to simply insulate between the joists first. One option is to insulate between the joists before laying rigid insulation boards on top, with wooden boards on top again. Alternatively, you can raise the level of the floor, fitting the insulation underneath. Take care not to squash the insulation with the boards, as this will make it less effective.

If your loft or attic is to be used as a room, itÔÇÖs advisable to insulate the roof itself, rather than the floorboards, by fixing rigid insulation boards between the rafters. The boards should fit snugly and can then be covered with insulated plasterboard.

floor-insulationInsulating the floor is also a job you can tackle yourself, especially if underneath the floorboards is a cellar or basement that you can get to. Check first that joists are in good condition and fit the insulation between them, then fix plasterboard to the undersides of the joists to create a basement ‘ceiling’. For even more warmth, a layer of rigid insulation can be fitted beneath this ceiling too.

When replacing the floorboards, seal any gaps between and around them before laying carpet or adding rugs.

When to hire a professional home insulation installer

If your loft is damp or has a flat roof, you will need to call in a professional. Similarly, cavity wall insulation is not something you can do yourself and you will have to hire a registered installer. According to the EST, an uninsulated house loses around two thirds of its heat through the walls, so cavity wall insulation is a worthwhile investment that takes about two hours and leaves no mess.

To find an insulation installer in your area, contact the National Insulation Association, whose members agree to follow a code of professional practice to ensure excellent customer service. Historic England, Historic Scotland and Cadw can advise on insulating a traditionally made property.

home-insulationHome insulation grants

Depending on your circumstances, you may be able to get help with the cost of insulating your home. Take a look at the GovernmentÔÇÖs energy grants calculator to see if youÔÇÖre eligible.

Is your home a Christmas decoration danger?

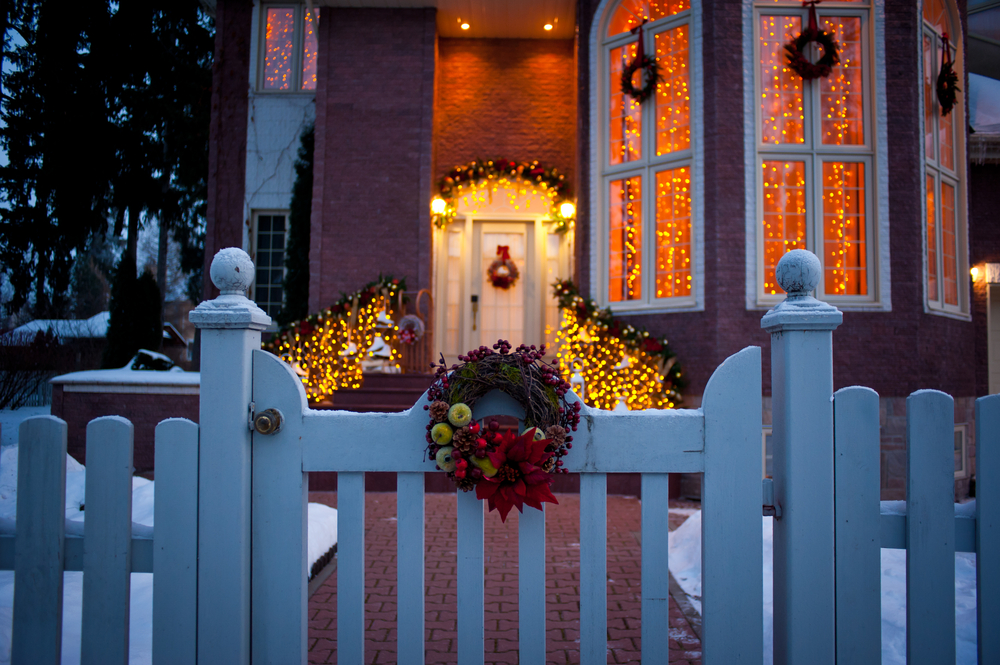
christmas-homeItÔÇÖs not so much the season to be jolly as to do yourself some damage, so it seems! Unfortunately Christmas can be a dangerous time, due to an overload of decorative lights, electrical leads trailing everywhere and festive candles glowing in every corner. So, as homes the length and breadth of the country are adorned inside and out, hereÔÇÖs how to stay safe this Christmas!

1. Christmas overload

No, weÔÇÖre not talking too much turkey or watching an endless loop of Christmas repeats! Overloading your electric sockets can quickly lead to overheating, which could give you an electric shock or even cause a fire. Before plugging in your Christmas lights, invest in extension leads and sockets to distribute the load, and never plug an extension into an extension!

2. Tree-mendous

christmas-decorationsUsing last yearÔÇÖs fairy lights? Inspect them carefully for any damage that may have occurred whilst they were boxed up in the attic, checking the plug itself for cracks and the cable for stretched sections or bare wires in addition to looking for broken bulbs. Replace older tree lights with newer, extra low-voltage versions that have a transformer unit and/or a control unit close to the plug. LED lights are much safer than old-fashioned lights, as well as being cooler to the touch and more energy-efficient.

3. To the point

ThereÔÇÖs often a spot of last minute DIY to be done once the presents have been opened, with batteries to be added and plugs to be prepared. But, according to the Royal Society for the Prevention of Accidents, many parents accidentally stab themselves by using scissors, rather than a screwdriver, to assemble toys, and people cut themselves with knives in their haste to open gift. And that’s before we start tripping over trailing leads and discarded wrapping paper, so take your time and take care!

4. Everything in the garden

dar-lighting A light-hearted competition with the neighbours to decorate homes and gardens can really bring out the Christmas spirit, but experts from the Institution of Engineering and Technology advise taking extra care with outdoor lights. Always use a residual current device (RCD), which can be identified by a test button on the consumer unit. Press the test button and then reset the device before plugging in the lights and, if RCD protection isnÔÇÖt already installed, plug-in RCDs can be bought in good DIY shops.

5. Deck the halls

Believe it or not, about 1,000 people hurt themselves every year when decorating their homes for Christmas, according to RoSPA! Injuries include those sustained falling off chairs and ladders whilst hanging up decorations, falling out of the loft whilst retrieving them and children biting into glass baubles. Always keep glass and novelty decorations out of the reach of children and pets, ask someone to hold the ladder for you and never over-stretch yourself when reaching for the top of the tree!

6. Burning issue

Sadly, people are 50% more likely to die in a house fire over Christmas than at any other time of year. RoSPAÔÇÖs advice is to never put candles on or near a Christmas tree and never leave a naked flame unattended. ItÔÇÖs safer to place tea lights in a suitable container away from the tree, as well as away from the TV and other electricals.

Inset 1: Dotcomgiftshop

Inset 2: Dar Lighting