Author Archives: Phil

How to restore wooden garden furniture

garden-bench

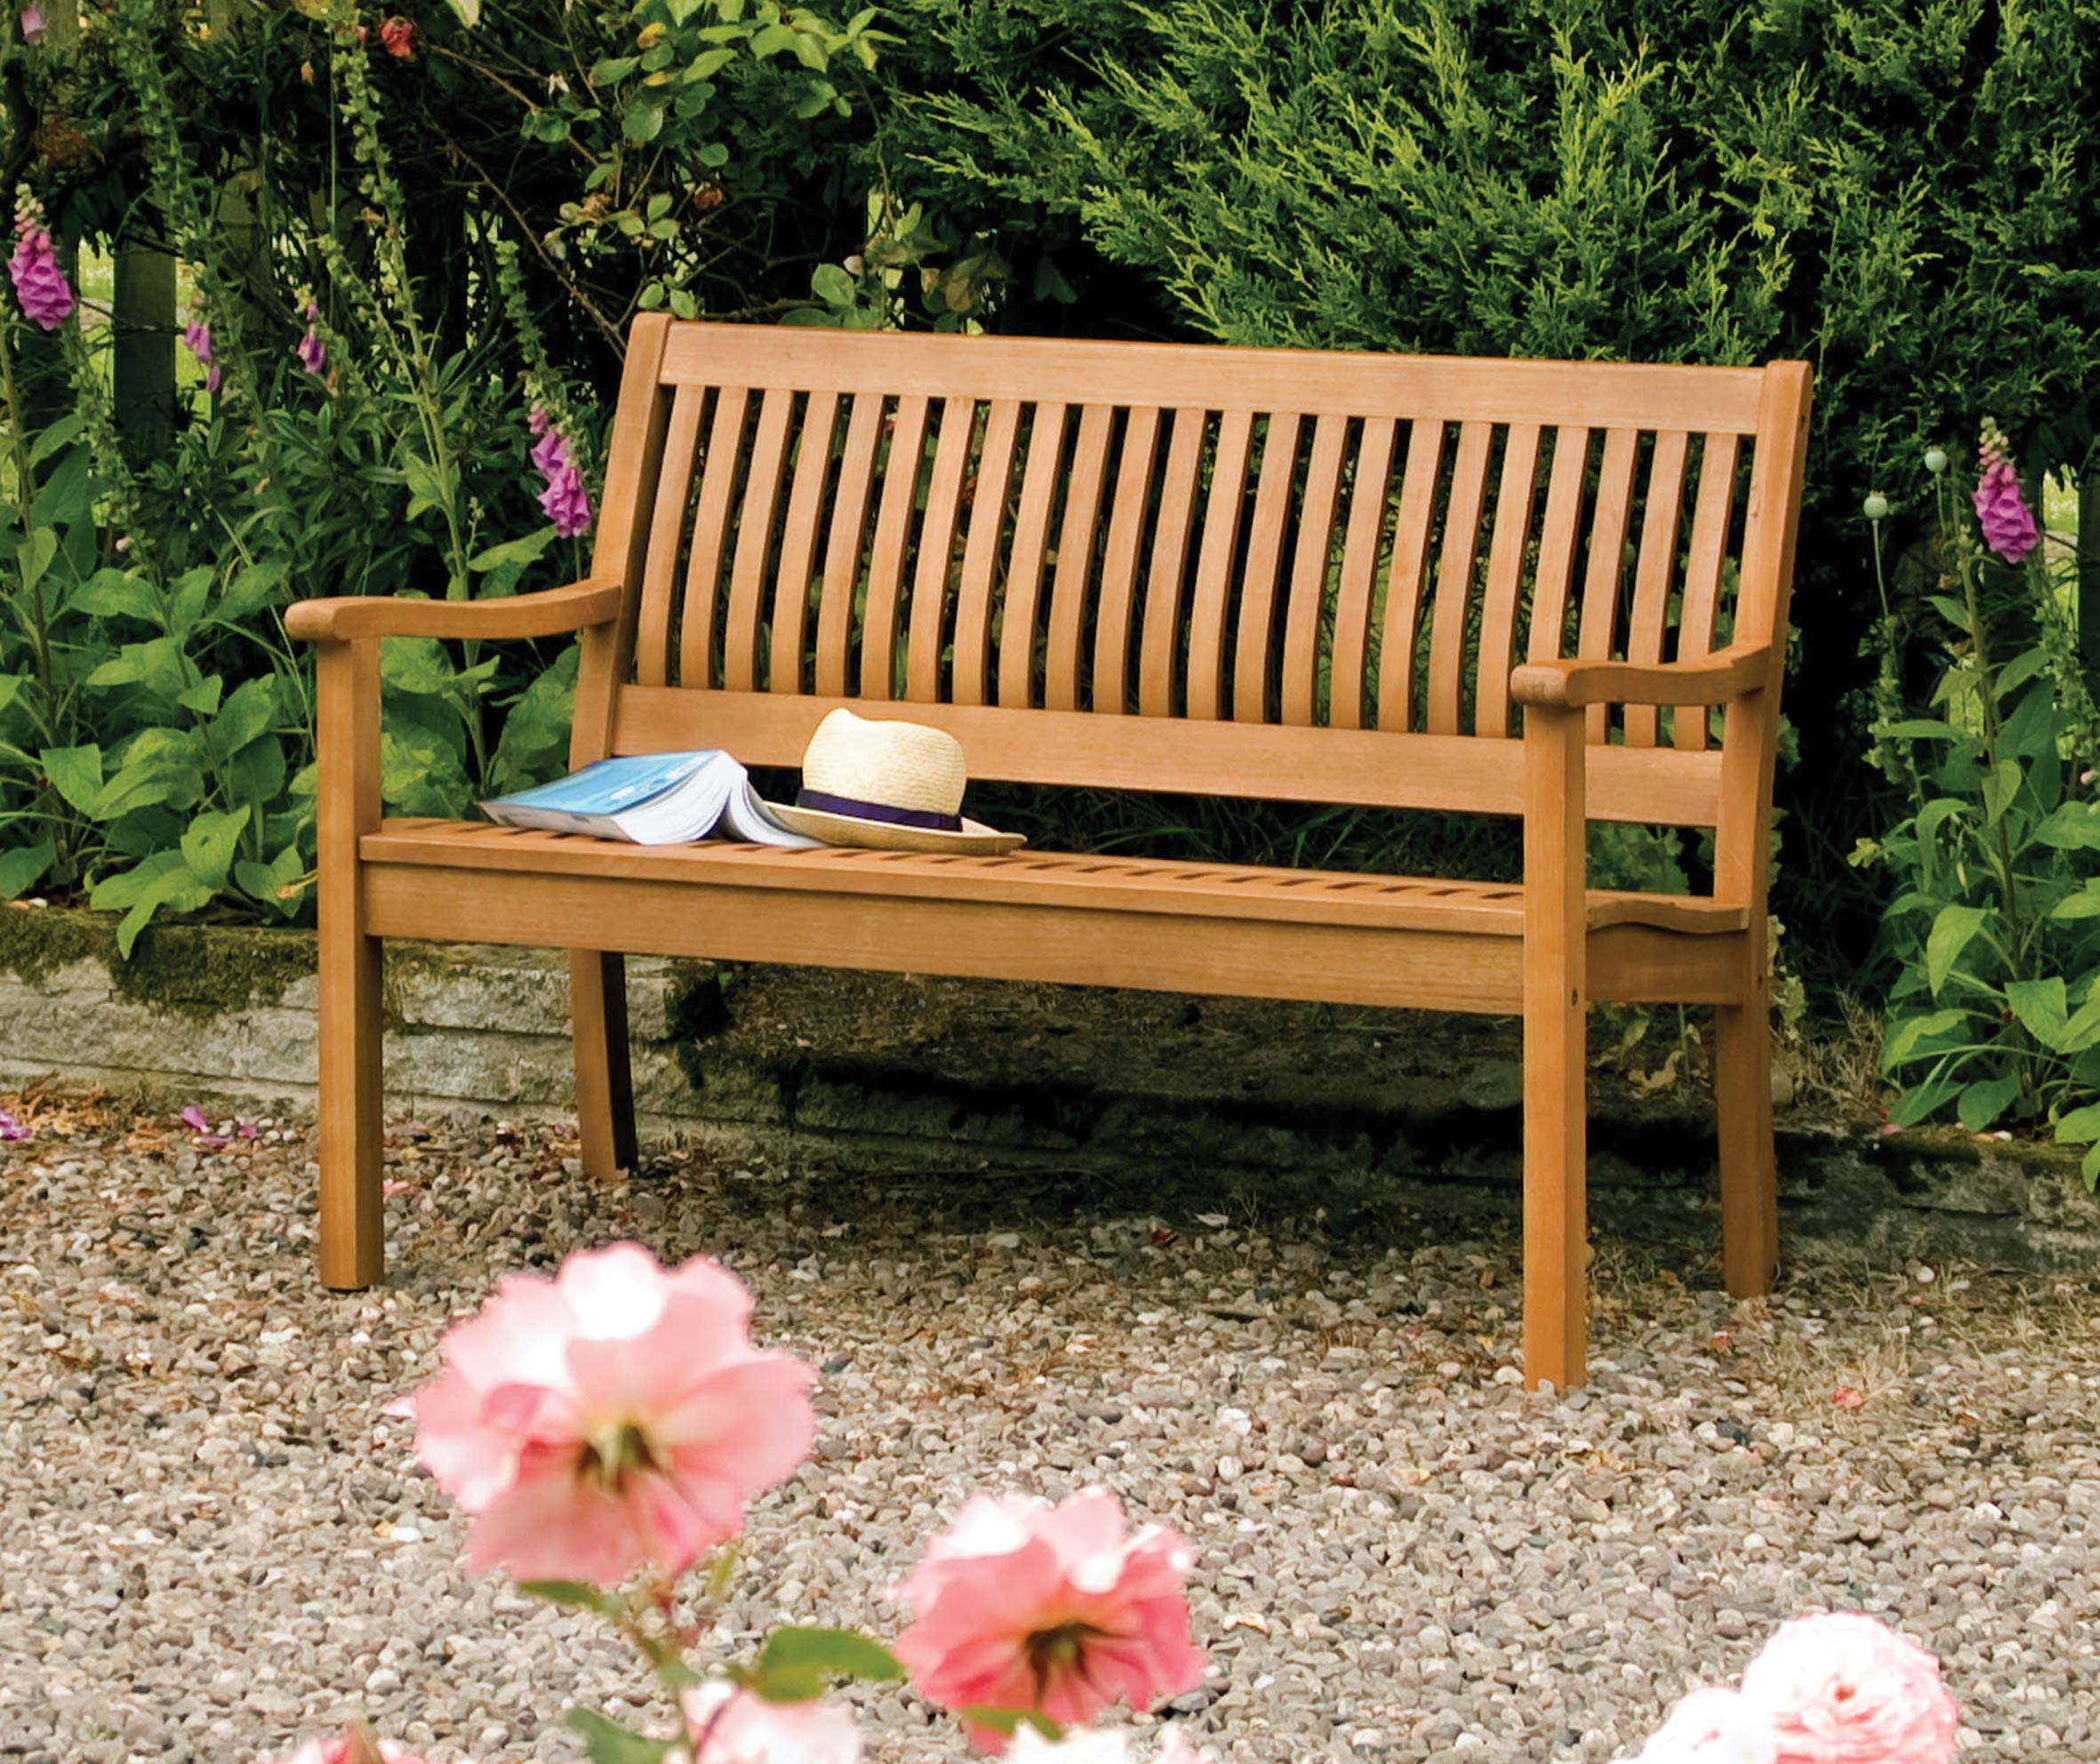
WeÔÇÖre halfway through the summer holidays and thereÔÇÖs still plenty of time (and hopefully sunshine!) for family barbecues and lazy lunches outdoors. But is your garden furniture up to scratch?

Chances are that the gorgeous patio set you splashed out on a year or two back has greyed considerably and is now decidedly more shabby than chic. But you can revive your tables and benches without the need to buy new ÔÇô and hereÔÇÖs how!

1. Blast off any dirt with a power washer and sand the wood thoroughly.

2. With a paintbrush, apply teak oil, which is renowned for restoring wood to its original colour and stops it from greying.

garden-furniture

3. Leave to soak in for one day before rubbing of any excess with a rag. If the wood is very weathered or grey looking, it will need more than a rub down and an oiling, and you might want to invest in a commercial deep cleaner to apply in between rubbing and oiling. Your furniture will soon look as good as new!

4. During the winter months, garden furniture should ideally be stored in a shed or under protective covers to keep it looking its best.

If you decide to paint your garden furniture, rather than applying an oil:

1. Wash the furniture with warm water and sand it lightly.

2. Apply an external primer and allow to dry for at least eight hours before applying a second coat of primer if necessary.

3. Turn the furniture upside down and paint underneath. Allow to dry.

4. Turn the furniture upright and paint the top side, again with two coats if necessary.

5. Invite your friends and family round and show off your upcycled picnic tables and chairs!

Main image: Heritage Gardens

Inset: Design-3000


How to freshen up your front door

front-door

First impressions count, and you can transform a tired entrance is with just a little imagination and elbow grease. Just follow our easy steps and youÔÇÖll be proud to shut the front door!

1. If possible, take the door of its hinges. If youÔÇÖre unable to do this, you can still prep and paint it in situ.

2. Remove the doorÔÇÖs hardware, such as the letterbox and handle, or use masking tape to cover them and any panels that you may want to paint a different colour.

3. Clean the door thoroughly with a damp cloth.

4. Apply two coats of primer ÔÇô an undercoat of paint that will protect your door and prevent the topcoat flaking and cracking.

5. Use a fine sandpaper to sand down the door, brushing away the dust with an old paintbrush.

6. Apply the first topcoat with a brush or a roller, painting with the grain of the wood. Always choose a quality paint for a beautiful finish and durability; cheaper paints can prove a false economy! RonsealÔÇÖs 10-year Weatherproof Wood Paint is drip resistant and comes in 15 classic colours such as Racing Green, Dark Oak and Chestnut, in either a gloss or satin finish.

7. Apply a second and further coats if necessary. The darker the paint, the more work needed!

8. Using a mini roller, paint the inside and top edges of the door.

9. If you have a panel door and want to paint the trims and grooves in an alternative colour, wait for the base coat to dry before masking around and inside the panels. Paint the trim with an angled brush, applying a second coat if needed.

10. Remove the masking tape and screw the letterbox, knocker, handle and doorbell back in place. Polish the fittings and voila ÔÇô your front door is ready and waiting for guests to make an entrance!

Image courtesy of Ronseal


home-improvement

Budget ways to boost your home

home-improvementIf your property is in need of a makeover, there are plenty of ways to do it without breaking the bank! Whether you want to spruce things up in order to sell or simply make your home a cosier place in which to curl up, here are some inexpensive improvement ideas!

First impressions

They really do count, so make sure the entrance to your property looks its best. Keep the lawn mown and the path well weeded, and place a few potted shrubs near the front door. If youÔÇÖre not particularly green-fingered, artificial topiary or plants can look smart and inviting without requiring maintenance! Try a specialist such as Evergreen or check out the range at High Street and home improvement stores.

Running theme

Fitting a new carpet throughout the hall and stairs can be expensive, but an eye-catching stair runner can have the same impact at a nicer price! Stair runners look fabulous over painted floorboards and can also rescue a tired, old carpet, covering the well-worn centre of each step and giving your hall a welcoming appeal.

Splashing out

kitchen-sink
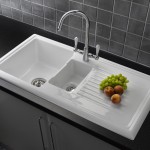
A well-presented kitchen can clinch the deal for prospective buyers – but thereÔÇÖs no point spending thousands on new cabinets only to find your buyer plans to rip it straight out again. Instead, enhance an existing kitchen with a few added extras such as a splashback. Splashbacks can transform grimy or dated tiles around the cooker or sink and the choice of materials now available ÔÇô including glass, wood, gloss acrylic and tiles ÔÇô might be wider than you think. New worktops can also be bought and installed reasonably cheaply and they take the focus away from less-than-perfect kitchen cupboards underneath!

Loo-sen up

bathroom
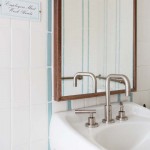
As with a new kitchen, it can cost a lot to install a new bathroom suite, but there are plenty of ways to brighten up your bathroom on a budget! At the very least, buy a new loo seat, shower curtain and bathmat, as well as accessories such as toothbrush holders and soap dishes. Scrub the tiles and re-grout between them if needed, or buy a grout pen to disguise discoloured areas. Adding fresh bathroom sealant is an easy job, whilst most homeowners are able to fix new bathroom cabinets and shelves (and itÔÇÖs a good chance to re-paint the walls when the old units have been taken down!).

Light of your life

Lighting is an often-overlooked element of home improvement, yet the right lighting can transform a room. Accent lighting highlights focal points, drawing the eye towards features you want guests to see and creating mood. Spotlights are a brilliant way to light up corners and recesses, whilst a striking pendant light or chandelier can make a statement in a large room. A table lamp in the hall will create a welcoming atmosphere and a standing lamp next to your favourite armchair provides the perfect place to relax at the end of a busy day doing DIY!